Table of Contents
Canva has become one of the most popular design platforms for businesses, nonprofits, schools, and entrepreneurs because it makes graphic design accessible to everyone. Whether you’re creating business cards, postcards, brochures, flyers, presentation folders, or marketing materials, Canva provides powerful design tools without the steep learning curve of professional design software.
However, designing something that looks great on your computer screen doesn’t always guarantee it will print perfectly. Professional printing requires files that are properly prepared for production. That’s why understanding Canva printing best practices is so important before you send your artwork to the printer.
At Prestige Printing & Mailing, we receive Canva files every day. While Canva is an excellent design tool, a few simple settings can make the difference between an average print job and one that looks exceptional.
Let’s walk through the best practices that will help your designs print beautifully every time.
Start with the Correct Canva Settings
One of the easiest ways to improve your print-ready artwork is by enabling Canva’s built-in print guides.
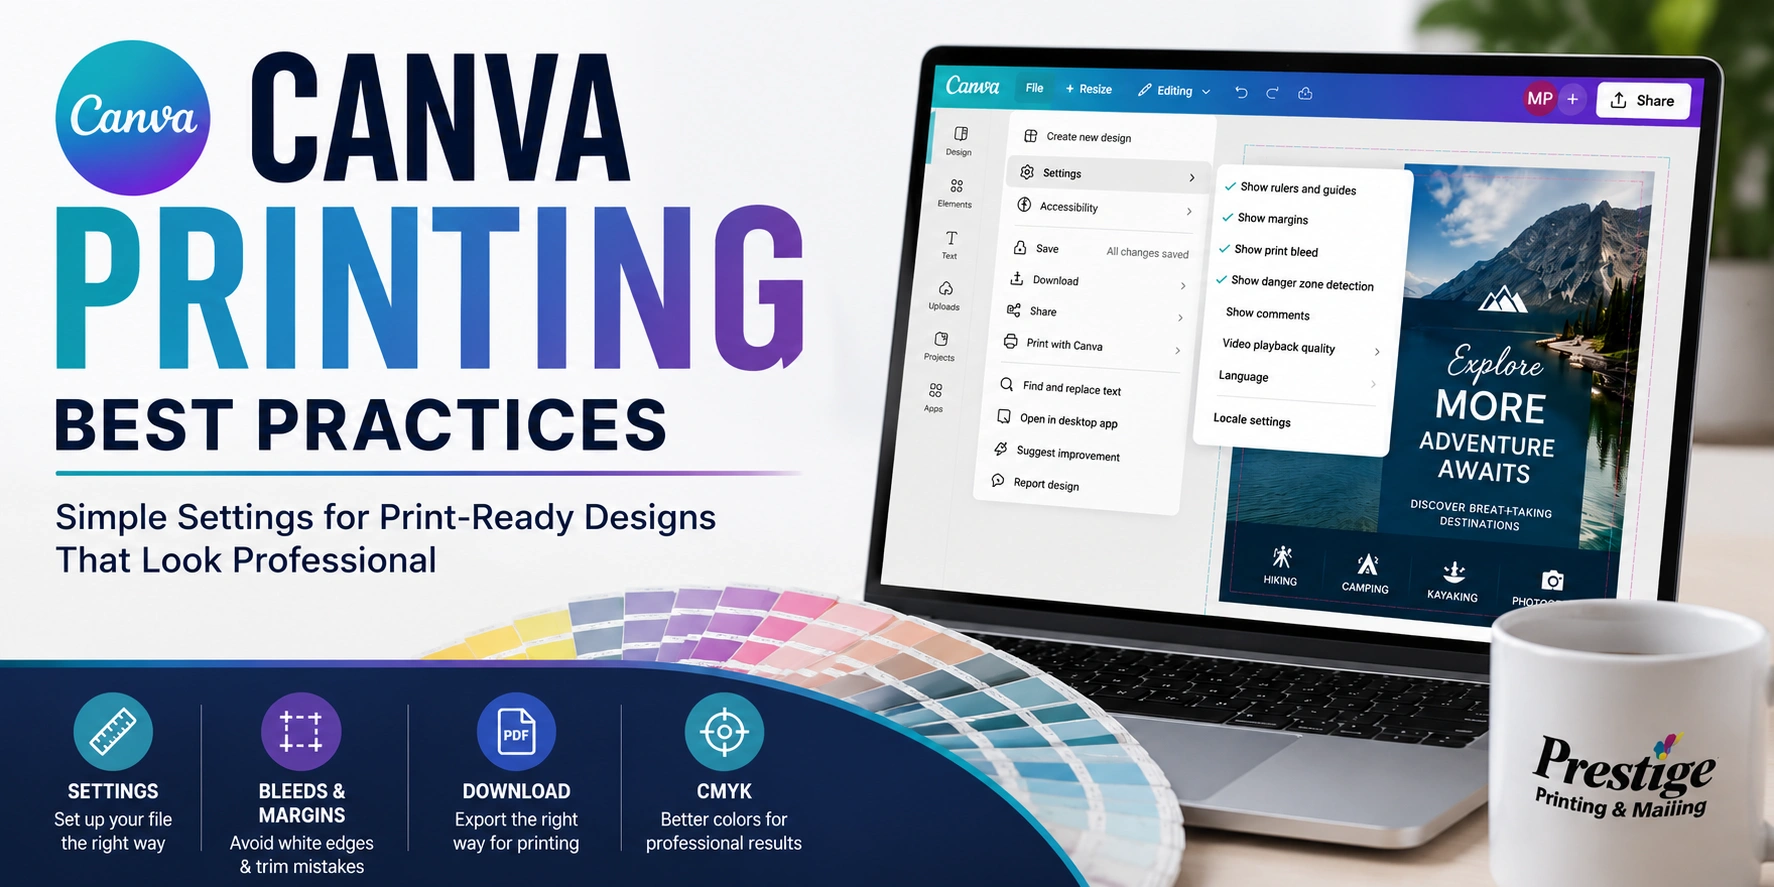
Select File from the menu bar and ensure the following options are turned on:
- ✅ Show rulers and guides
- ✅ Show margins
- ✅ Show print bleed
- ✅ Show danger zone detection
These guides provide a visual reference while designing and help prevent common printing mistakes.
Margins help keep important content safely inside the printable area, while rulers and guides make alignment easier throughout the design process.
Perhaps most importantly, enabling bleed and danger zone detection helps ensure your artwork survives the trimming process without losing important information.
Keep Important Content Out of the Danger Zone
One of the most overlooked Canva printing best practices is respecting the danger zone.
The danger zone is the area close to the edge of your document where trimming occurs after printing. While commercial printers are extremely precise, there is always a slight tolerance during the cutting process.
If text or logos are positioned too close to the edge, they may appear uneven or even be partially trimmed away.
To avoid this:
- Keep all text comfortably inside the safety margins.
- Leave extra space around logos.
- Keep QR codes and contact information away from the edge.
- Avoid decorative borders placed too close to the trim line.
Giving your content room to breathe not only protects important information but also creates a cleaner, more professional layout.
Understanding Bleeds
Bleed is one of the most important concepts in professional printing.
Bleed refers to the portion of your artwork that extends beyond the finished trim size. During production, printed sheets are trimmed to their final dimensions. Without bleed, even the smallest cutting variation can leave unwanted white edges around your design.
For example, if your flyer has a full-color background or a photograph that reaches the edge, that artwork should continue beyond the trim line into the bleed area.
Fortunately, Canva makes this easy.
After enabling Show Print Bleed, you’ll see the additional area that extends beyond your document’s final size.
You may need to enlarge your background images or colored elements slightly so they fully extend into the bleed area.
This small adjustment ensures your finished piece has clean, edge-to-edge printing with no unexpected white borders.
Canva’s Help Center also explains how print bleed works and why it’s important for producing professional-quality printed materials.
Export Your Canva File the Right Way
Even perfectly designed artwork can produce disappointing results if it’s exported incorrectly.
When you’re ready to save your project:
Go to:
File → Download
Then choose these settings:
- File Type: PDF Print
- Crop Marks and Bleeds: ✔ Checked
- Flatten PDF: ✘ Unchecked
- Color Profile: CMYK (Best for Professional Printing)
These export settings preserve image quality, include trimming information for the printer, and optimize colors for commercial presses.
Using these settings is one of the simplest Canva printing best practices you can follow.
Why CMYK Matters
Most people design on screens that display colors using RGB (Red, Green, Blue).
Commercial printing presses, however, reproduce colors using CMYK (Cyan, Magenta, Yellow, and Black).
RGB colors often appear brighter than what can be reproduced with ink on paper. Exporting your file using the CMYK color profile gives your printer a much more accurate representation of your intended colors.
Although paper type and printing methods can still influence the final appearance, CMYK offers the best possible starting point for consistent color reproduction.
If you’d like to learn more about the difference between RGB and CMYK color modes, Adobe provides an excellent overview of how each color model is used in design and professional printing.
Review Your File Before Sending It
Before submitting your artwork for production, take a few minutes to review your file.
Ask yourself:
- Are all images high resolution?
- Are important design elements inside the safety margins?
- Do backgrounds extend into the bleed?
- Is the file exported as a PDF Print?
- Are crop marks included?
- Is Flatten PDF unchecked?
- Is the color profile set to CMYK?
These simple checks can save time, reduce production delays, and help eliminate costly reprints.
Work with Your Printer Before You Print
One of the biggest advantages of working with a professional commercial printer is having experienced experts review your files before production begins.
At Prestige Printing & Mailing, we help customers identify potential issues before they become expensive printing mistakes. Whether you’re producing brochures, postcards, direct mail pieces, presentation folders, catalogs, or large-format graphics, our team is here to ensure every project is print-ready.
Looking for more expert advice? Visit our Resource Center, where you’ll find additional design guides, printing tips, and helpful resources to make every project a success.
You can also explore our full range of commercial printing and mailing solutions by visiting our homepage.
By following these Canva printing best practices, you’ll create files that not only look great on screen but also deliver outstanding results in print.
Frequently Asked Questions
What are Canva printing best practices?
Canva printing best practices include enabling rulers, margins, print bleed, and danger zone detection, designing with proper bleed, keeping important content inside the safety area, and exporting your file as a PDF Print using CMYK color settings.
Why should I export my Canva file as a PDF Print?
PDF Print preserves image quality and includes professional printing options like crop marks and bleed, making it the preferred format for commercial printing.
What is bleed in Canva?
Bleed is the extra artwork that extends beyond the edge of your finished document. It prevents unwanted white borders after trimming.
Why should I leave Flatten PDF unchecked?
Keeping Flatten PDF unchecked preserves higher-quality graphics and transparency, giving professional printers more flexibility during production.
Why should I use CMYK instead of RGB?
Commercial printing presses use CMYK inks. Exporting your Canva file in CMYK helps produce colors that more closely match your expectations when printed.
Can Prestige Printing & Mailing review my Canva files before printing?
Absolutely! Our team is happy to review your Canva files before production and recommend any adjustments that will help ensure the highest-quality printed results.